How to Change the Sand in a Pool Filter
Changing the sand in a sand filter can be an easy task but can also be slightly daunting - Follow these steps:

Learning how to change the sand in a pool filter can be an easy task but also slightly daunting since it is only recommended to change your sand every 3 years.
A sand filter is unique in design because as the sand ages, it can actually become more effective at trapping and filtering the debris and bacteria commonly found in above ground pools.
For this reason, it is better to follow the manufacturer’s recommendations and only change the sand if you are having issues with effectiveness or that 3-year mark has come and gone.
How to Change the Sand in a Pool Filter: Step-by-Step
1
First turn off the pump and close any valves that you may have attached to your filter to prevent any unneeded loss of water. There is also a drain cap at the bottom of the tank, remove this and allow tank water to completely drain.
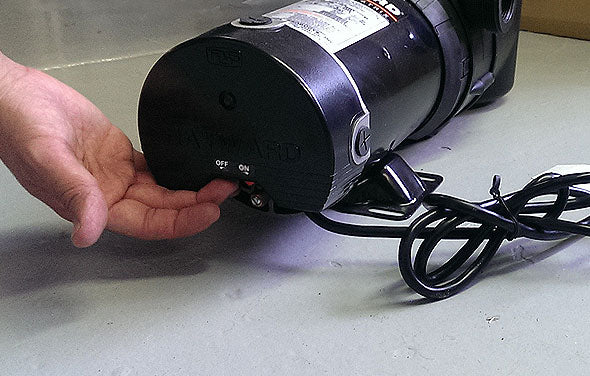
If you do not have valves to shut off the water flow, you can disconnect the hoses from the filter and hang them in the pool until you are ready to reattach them.
2
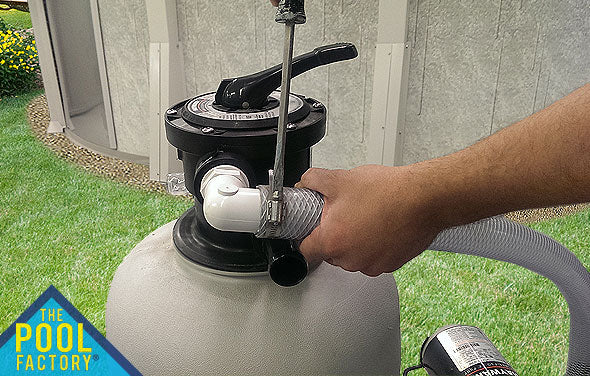
Remove the top mount valve that is held together with a C-clamp and 2 screws. Slowly twist the valve off to avoid cracking the standpipe that is connected to it.
3
Once removed, you will be able to see within the tank and the sand that needs to be removed. Use an industrial vacuum to remove sand from the tank. If an industrial vacuum is not accessible, you may use your hands or small container to scoop out the old sand.
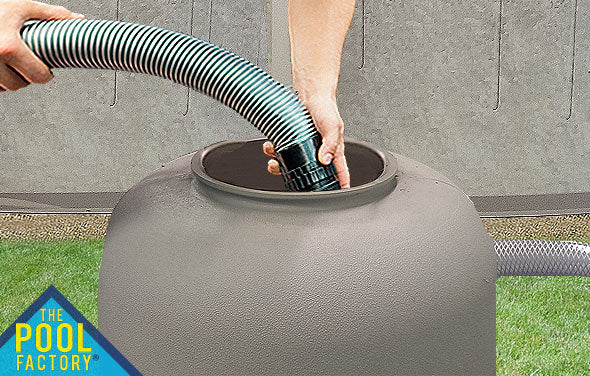
It is recommended to wear gloves when coming in contact with old sand, as it will contain harmful bacteria.
4
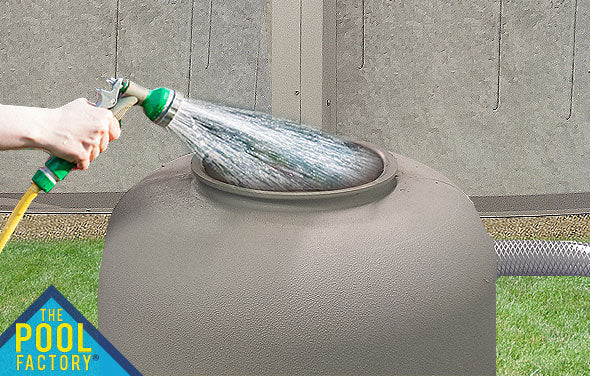
Once the majority of the sand is removed, rinse the inside of the tank with water and remove the remaining debris and added water. This will leave the standpipe and laterals exposed and clean, ready for the new sand. This is also a good time to check your laterals for any cracks. A cracked lateral is a common problem that causes sand to be sent into the pool.
5
It is important to temporarily cover the top of the standpipe so that the new sand does not fall inside. Also replace the drain cap previously removed at the bottom of the tank. Now you can fill the bottom of the tank with water until the lower laterals are covered. This will help to reduce the impact of the new sand and the possibility of breaking or cracking a lateral.
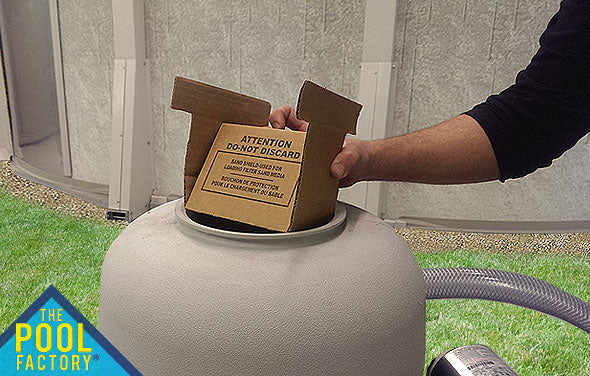
6
Begin to add the new filter sand to the tank making sure the standpipe stays centered and does not separate from the bottom of the tank. Check your sand filters make and model to find out how much sand is needed. Do not fill your tank to the top with sand, it is important to use the manufacturer’s designated amount.
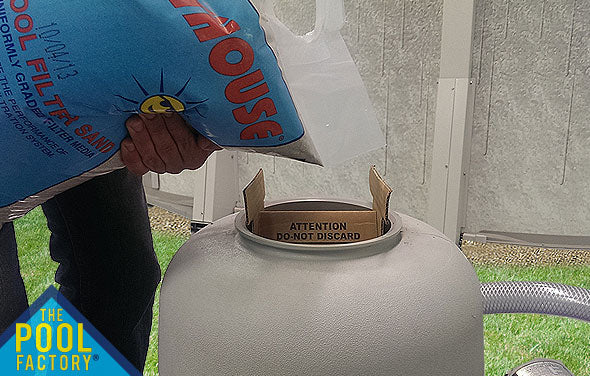
7
Reconnect the Top Mount Valve and reconnect all hoses going to and from the system.
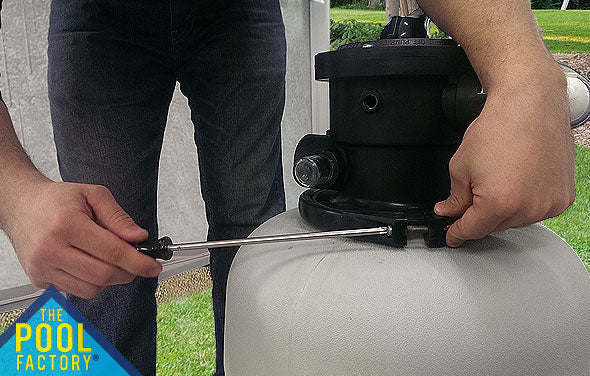
8
Backwash the filter before using it on the filter cycle as even new sand will need to be rinsed clean.
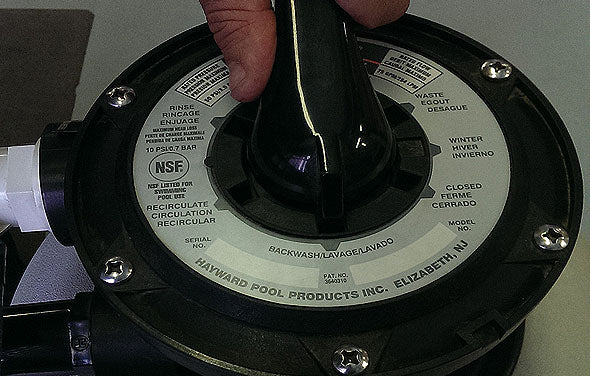
Now your filter is ready for use and should provide you with sparking filtration for another 3 years.
For more information on backwashing a Sand Filter, check out our blog “How to Backwash a Sand Filter“.
Platinum Filtra Balls For Sand Filters 700g
Platinum Filtra Balls are a light weight filter media that can replace the silica sand inside of your sand filter system. They are reusable, eco-friendly and made from 100% polyethylene.
Shop Products


